As a busy mom, I know how precious time can be, especially when it comes to meal prep. That’s why I love freezing corn! It’s a quick solution for those hectic days when you want to whip up something delicious without the fuss. Imagine having sweet, juicy corn ready to go, preserving that fresh-from-the-farm flavor right in your freezer. Whether you’re planning a family barbecue or just need a side dish to impress your loved ones, freezing corn is a fantastic way to enjoy summer’s bounty all year round. Let’s dive into this simple process together!

Freezing corn: Discover the best methods today!
- Total Time: 25 minutes
- Yield: Varies based on amount of corn
- Diet: Vegetarian
Description
Learn the best methods for freezing corn to preserve its freshness and flavor.
Ingredients
- Fresh corn on the cob
- Water
- Ice
Instructions
- Start by selecting fresh corn on the cob.
- Remove the husks and silk from the corn.
- Blanch the corn in boiling water for 4-6 minutes.
- Immediately transfer the corn to an ice bath to stop the cooking process.
- Once cooled, cut the kernels off the cob if desired.
- Pack the corn into freezer bags or containers, removing as much air as possible.
- Label the bags with the date and freeze.
Notes
- Blanching is essential to preserve the corn’s flavor and texture.
- Frozen corn can last up to 12 months in the freezer.
- Consider freezing corn in portions for easy use later.
- Prep Time: 15 minutes
- Cook Time: 10 minutes
- Category: Preservation
- Method: Freezing
- Cuisine: American
Nutrition
- Serving Size: 1 cup
- Calories: 143
- Sugar: 6 g
- Sodium: 2 mg
- Fat: 2 g
- Saturated Fat: 0 g
- Unsaturated Fat: 1 g
- Trans Fat: 0 g
- Carbohydrates: 31 g
- Fiber: 3 g
- Protein: 5 g
- Cholesterol: 0 mg
Keywords: freezing corn, corn preservation, how to freeze corn
Table of Contents
Why You’ll Love This Freezing Corn
Freezing corn is a game-changer for busy families. It’s incredibly easy and quick, allowing you to savor the taste of summer anytime. You’ll love how it locks in that sweet, crisp flavor, making every bite a delight. Plus, having frozen corn on hand means you can whip up a nutritious meal in no time, even on the craziest of days. It’s a win-win for your taste buds and your schedule!
Ingredients for Freezing Corn
To get started with freezing corn, you’ll need just a few simple ingredients. Here’s what you’ll need:
- Fresh corn on the cob: Look for bright green husks and plump kernels. This is the star of the show, so choose the freshest you can find!
- Water: Essential for blanching the corn. It helps to cook the corn quickly and preserve its vibrant color and flavor.
- Ice: You’ll need this for the ice bath. It’s crucial for stopping the cooking process and keeping the corn crisp.
While these are the main ingredients, you can also consider:
- Salt: Some people like to add a pinch of salt to the blanching water for extra flavor, but it’s optional.
- Freezer bags or containers: Make sure you have sturdy bags or containers to store your corn. Look for ones that are freezer-safe to prevent freezer burn.
For exact quantities, check the bottom of the article where you can find everything available for printing. Happy freezing!
How to Make Freezing Corn
Now that you have your ingredients ready, let’s get into the nitty-gritty of freezing corn. This process is straightforward and rewarding. Follow these steps, and you’ll have delicious corn ready for your meals in no time!
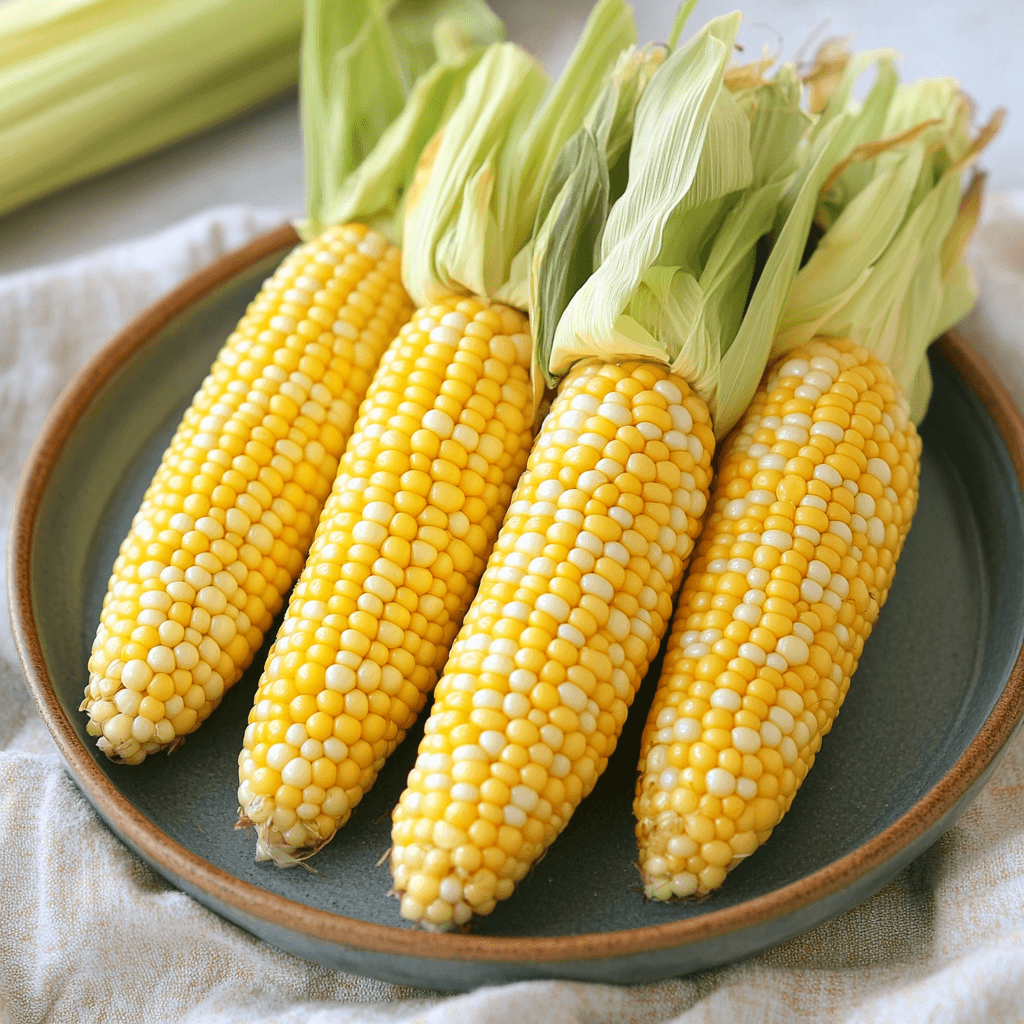
Step 1: Select Fresh Corn on the Cob
Choosing the right corn is crucial for the best flavor. Look for ears with bright green husks and plump, tightly packed kernels. The corn should feel firm to the touch. If you can, peel back a bit of the husk to check the kernels. They should be golden and juicy. Fresh corn is the key to successful freezing!
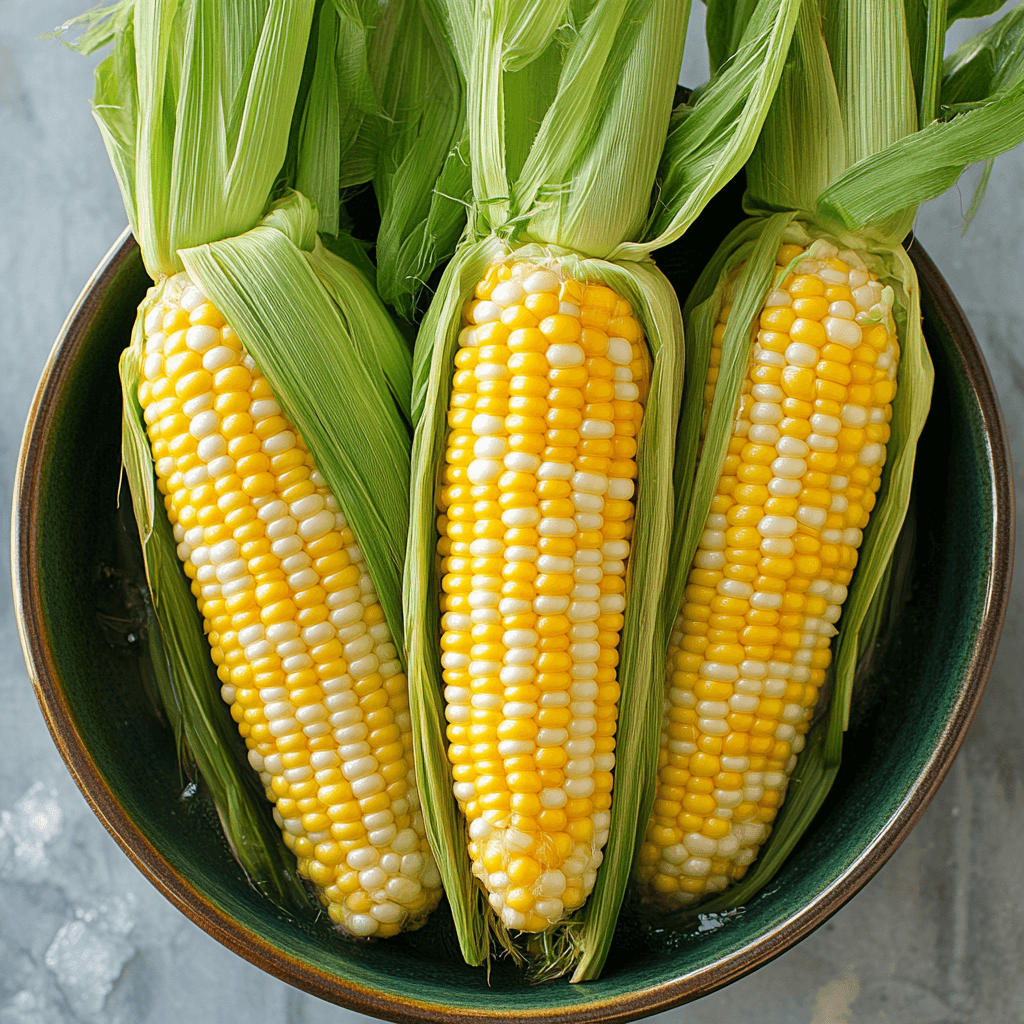
Step 2: Prepare the Corn
Once you’ve selected your corn, it’s time to prepare it. Start by removing the husks and silk. I find it easiest to pull the husks down from the top, then twist them off at the base. For the silk, gently pull it away from the kernels. A little trick: running your fingers down the cob can help remove stubborn silk strands. Your corn should be clean and ready for blanching!
Step 3: Blanch the Corn
Blanching is a vital step in freezing corn. It helps preserve the flavor and texture. Bring a large pot of water to a rolling boil. Once boiling, carefully add the corn and let it cook for 4-6 minutes. You’ll notice the color brightening, which is a good sign! This quick cooking process locks in the sweetness and keeps the corn crisp.
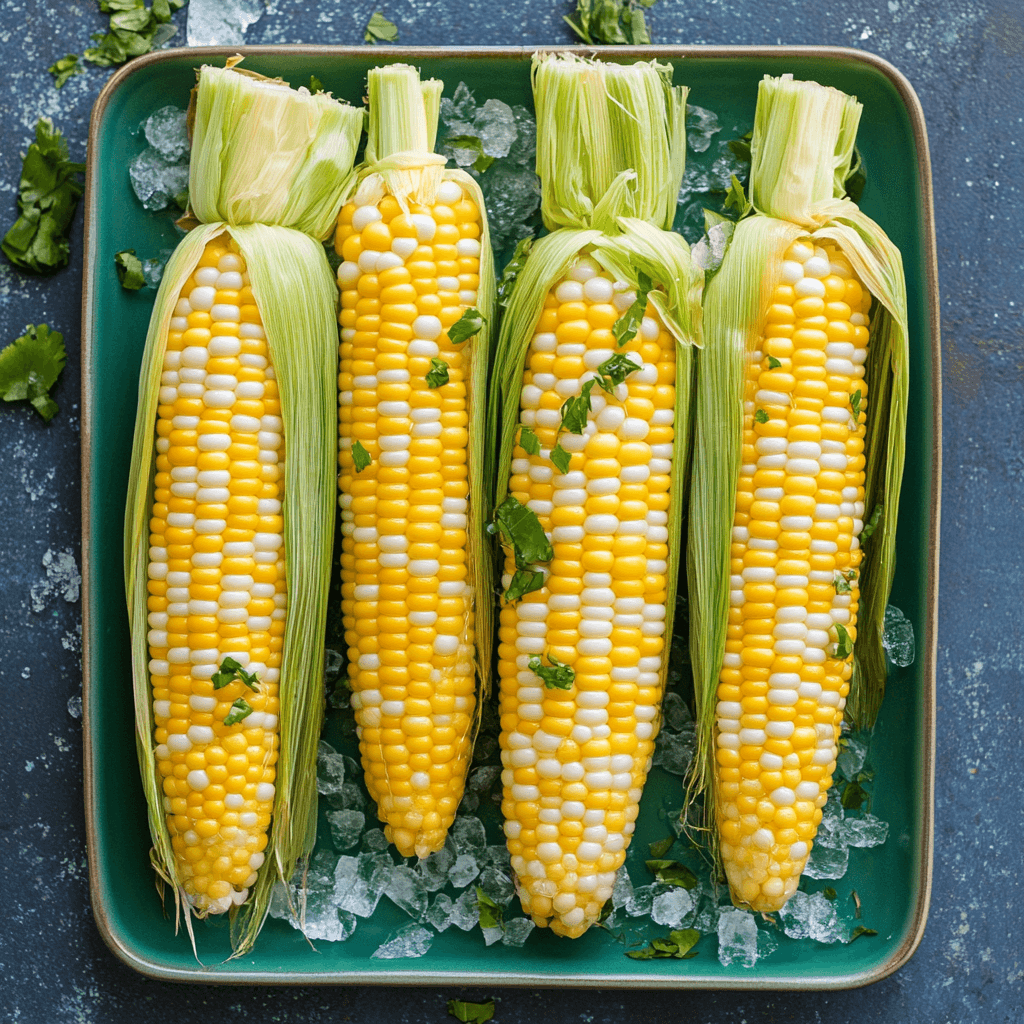
Step 4: Ice Bath
After blanching, it’s time for an ice bath. Fill a large bowl with ice and cold water. Using tongs, transfer the corn from the boiling water to the ice bath immediately. This stops the cooking process and helps maintain that lovely crunch. Let the corn sit in the ice bath for about the same time you blanched it. It’s a simple step that makes a big difference!
Step 5: Cut the Kernels
If you prefer corn off the cob, now’s the time to cut the kernels. Place the cob upright in a bowl to catch the kernels as you slice down. Use a sharp knife and cut close to the cob. Be careful, as the kernels can fly! If you like, you can leave some corn on the cob for grilling or other recipes later.
Step 6: Pack for Freezing
Now it’s time to pack your corn for freezing. Use freezer bags or containers, and make sure they’re sturdy. Fill them with the corn, but don’t overpack. Remove as much air as possible before sealing. This helps prevent freezer burn and keeps your corn tasting fresh. I like to use a straw to suck out extra air from bags!
Step 7: Label and Freeze
Finally, label your bags with the date. This way, you’ll know how long they’ve been in the freezer. Frozen corn can last up to 12 months, but it’s best to use it within 6 months for optimal flavor. Place the bags flat in the freezer to save space. And just like that, you’re ready to enjoy sweet corn anytime!
Tips for Success
- Always choose the freshest corn for the best flavor.
- Blanching time is key; don’t overdo it to keep the corn crisp.
- Consider freezing corn in smaller portions for easy meal prep.
- Use a vacuum sealer if you have one; it’s great for removing air.
- Don’t forget to label your bags with the date for easy tracking!
Equipment Needed
- Large pot: For blanching the corn. A stockpot works great!
- Ice bath container: Any large bowl will do for the ice bath.
- Sharp knife: Essential for cutting the kernels off the cob. A chef’s knife is perfect.
- Freezer bags or containers: Use sturdy, freezer-safe options to store your corn.
Variations
- Spicy Corn: Add a sprinkle of chili powder or cayenne pepper to the corn before freezing for a kick of heat.
- Herbed Corn: Toss the corn with fresh herbs like basil or cilantro before freezing for a burst of flavor.
- Garlic Butter Corn: Mix melted garlic butter with the corn before packing it away for a savory treat.
- Sweet Corn Salad: Freeze corn with diced bell peppers and onions for a quick salad base later.
- Low-Sodium Option: Skip the salt during blanching for a healthier, low-sodium version.
Serving Suggestions
- Pair your frozen corn with grilled chicken or fish for a delightful summer meal.
- Mix it into a fresh salad for added crunch and sweetness.
- Serve as a side dish with a sprinkle of lime juice and cilantro for a zesty twist.
- Combine with black beans and avocado for a colorful, nutritious bowl.
- Enjoy it in soups or stews for a comforting, hearty dish.
For more recipes follow me in page Facebook and Pinterest
FAQs about Freezing Corn
As you embark on your freezing corn journey, you might have a few questions. Here are some common queries I’ve encountered, along with helpful answers to guide you along the way!
Can I freeze corn without blanching it first?
While it’s technically possible, I highly recommend blanching the corn first. Blanching preserves the flavor, color, and texture, ensuring your frozen corn tastes fresh and delicious later on. Skipping this step can lead to a mushy texture and loss of sweetness.
How long can I keep frozen corn in the freezer?
Frozen corn can last up to 12 months in the freezer. However, for the best flavor and quality, try to use it within 6 months. Remember to label your bags with the date to keep track!
What’s the best way to thaw frozen corn?
The easiest way to thaw frozen corn is to transfer it to the refrigerator overnight. If you’re in a hurry, you can also run it under cold water or microwave it on low power. Just be careful not to overcook it!
Can I freeze corn on the cob?
Absolutely! You can freeze corn on the cob, but I recommend cutting the kernels off for easier use later. If you prefer to freeze it whole, just make sure to blanch it first to maintain its flavor and texture.
What dishes can I make with frozen corn?
Frozen corn is incredibly versatile! You can use it in soups, salads, casseroles, or even as a side dish. It adds a sweet crunch to any meal, making it a fantastic ingredient to have on hand!
Final Thoughts
Freezing corn is not just a practical kitchen skill; it’s a way to capture the essence of summer and enjoy it all year long. I love knowing that I can reach into my freezer and pull out sweet, vibrant corn whenever I need it. It brings a sense of joy to my meals, whether I’m making a quick side dish or a hearty soup. Plus, it’s a wonderful way to involve the family in the kitchen, creating memories while prepping together. So, grab some fresh corn and start freezing—your future self will thank you!