As a busy mom, I know how challenging it can be to find time for healthy treats that everyone will love. That’s why I’m excited to share my recipe for Homemade Healthy Twix Bars (Gluten-Free Recipe). These delightful bars are not only a guilt-free indulgence but also a quick solution for those hectic days when you crave something sweet. With wholesome ingredients and a simple preparation process, you can impress your loved ones without spending hours in the kitchen. Trust me, these bars will become a family favorite in no time!
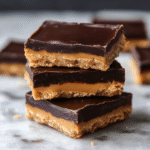
Homemade Healthy Twix Bars: A Guilt-Free Delight!
- Total Time: 1 hour 27 minutes
- Yield: 12 bars 1x
- Diet: Gluten Free
Description
A delicious and healthier version of the classic Twix bars, made with wholesome ingredients and gluten-free.
Ingredients
- 1 cup almond flour
- 1/4 cup coconut oil, melted
- 1/4 cup maple syrup
- 1/2 teaspoon vanilla extract
- 1/4 teaspoon salt
- 1/2 cup natural peanut butter
- 1 cup dark chocolate chips
- 1 tablespoon coconut oil (for chocolate coating)
Instructions
- Preheat the oven to 350°F (175°C) and line a baking dish with parchment paper.
- In a bowl, mix almond flour, melted coconut oil, maple syrup, vanilla extract, and salt until well combined.
- Press the mixture into the bottom of the prepared baking dish to form a crust.
- Bake for 10-12 minutes until lightly golden, then let it cool.
- Spread the peanut butter evenly over the cooled crust.
- In a microwave-safe bowl, melt the dark chocolate chips with 1 tablespoon of coconut oil until smooth.
- Pour the melted chocolate over the peanut butter layer and spread evenly.
- Refrigerate for at least 1 hour until set, then cut into bars.
Notes
- Store in an airtight container in the refrigerator for up to a week.
- Feel free to substitute almond flour with another gluten-free flour if desired.
- For a vegan option, ensure the chocolate chips are dairy-free.
- Prep Time: 15 minutes
- Cook Time: 12 minutes
- Category: Dessert
- Method: Baking
- Cuisine: American
Nutrition
- Serving Size: 1 bar
- Calories: 150
- Sugar: 5g
- Sodium: 50mg
- Fat: 10g
- Saturated Fat: 5g
- Unsaturated Fat: 3g
- Trans Fat: 0g
- Carbohydrates: 15g
- Fiber: 2g
- Protein: 3g
- Cholesterol: 0mg
Keywords: Homemade Healthy Twix Bars, Gluten-Free Recipe, Healthy Dessert
Table of Contents
Why You’ll Love This Homemade Healthy Twix Bars (Gluten-Free Recipe)
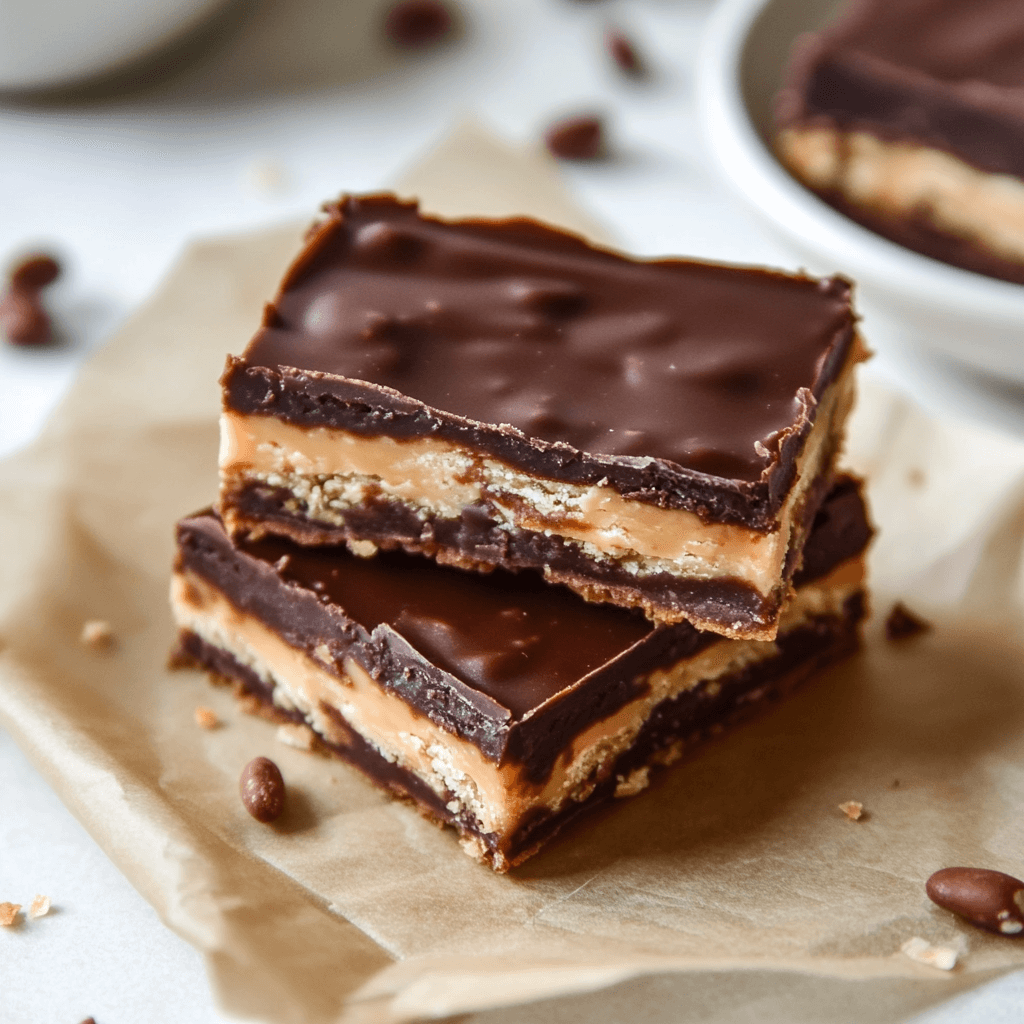
These Homemade Healthy Twix Bars are a game-changer for busy families! They’re quick to whip up, taking just over an hour from start to finish. The taste? Absolutely divine! You get the satisfying crunch of the crust, the creamy peanut butter, and the rich chocolate all in one bite. Plus, they’re gluten-free, making them a perfect treat for everyone, even those with dietary restrictions. Who wouldn’t love that?
Ingredients for Homemade Healthy Twix Bars (Gluten-Free Recipe)
Gathering the right ingredients is key to making these delicious Homemade Healthy Twix Bars. Here’s what you’ll need:
- Almond flour: This gluten-free flour gives the crust a nutty flavor and a lovely texture.
- Coconut oil: Melted coconut oil adds moisture and a hint of tropical goodness to the bars.
- Maple syrup: A natural sweetener that brings a rich sweetness without refined sugars.
- Vanilla extract: Just a splash enhances the overall flavor, making it more aromatic.
- Salt: A pinch of salt balances the sweetness and elevates the flavors.
- Natural peanut butter: Creamy and rich, it’s the star of the show, providing that classic Twix taste.
- Dark chocolate chips: These are perfect for a decadent topping, and they’re packed with antioxidants.
- Coconut oil (for chocolate coating): This helps the chocolate melt smoothly and gives it a nice sheen.
Feel free to get creative! You can substitute almond flour with another gluten-free flour if you prefer. If you’re looking for a vegan option, just ensure your chocolate chips are dairy-free. For exact measurements, check the bottom of the article where you can find them available for printing.
How to Make Homemade Healthy Twix Bars (Gluten-Free Recipe)
Step 1: Preheat and Prepare
First things first, let’s get that oven preheating to 350°F (175°C). While it warms up, grab a baking dish and line it with parchment paper. This little trick makes it super easy to lift the bars out later. Trust me, you’ll thank yourself when it’s time to cut them into perfect squares. A little prep goes a long way in making this process smooth and enjoyable!
Step 2: Mix the Base
In a mixing bowl, combine the almond flour, melted coconut oil, maple syrup, vanilla extract, and salt. Use a spatula or a wooden spoon to mix everything together until it forms a cohesive dough. The mixture should be slightly sticky but hold together well. This crust is the foundation of your Homemade Healthy Twix Bars, so make sure it’s well combined. It’s like building a cozy home for all those delicious layers to come!
Step 3: Bake the Crust
Now, it’s time to bake that crust! Press the mixture evenly into the bottom of your prepared baking dish. Bake it in the preheated oven for about 10-12 minutes, or until it turns a lovely golden brown. The aroma wafting through your kitchen will be heavenly! Once it’s done, take it out and let it cool completely. Patience is key here; we want that crust to be firm and ready for the next layer.
Step 4: Add the Peanut Butter Layer
Once the crust has cooled, it’s time to spread the love! Take your natural peanut butter and evenly spread it over the cooled crust. Make sure to cover every inch, as this layer is what gives these bars their signature Twix flavor. The creamy peanut butter will melt in your mouth, creating a delightful contrast to the crunchy base. It’s like a warm hug for your taste buds!
Step 5: Melt the Chocolate
In a microwave-safe bowl, combine the dark chocolate chips with 1 tablespoon of coconut oil. Microwave in 30-second intervals, stirring in between, until the chocolate is completely melted and smooth. This chocolate coating is the crowning glory of your Homemade Healthy Twix Bars. The coconut oil helps it melt beautifully and gives it that glossy finish. You’ll want to lick the bowl clean!
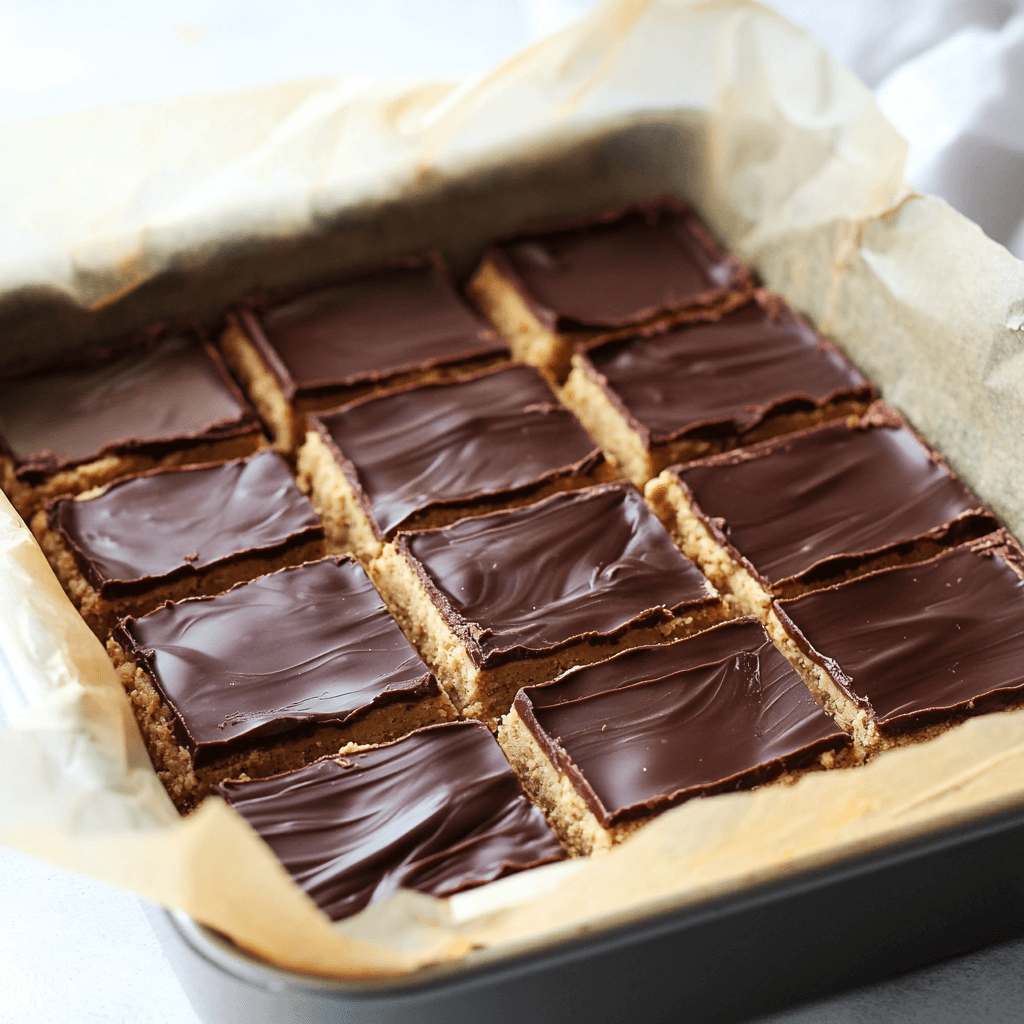
Step 6: Assemble and Refrigerate
Pour the melted chocolate over the peanut butter layer, spreading it evenly with a spatula. Make sure every corner is covered in that rich chocolate goodness. Now, it’s time to let these bars chill in the refrigerator for at least an hour. This will help everything set perfectly. Once they’re firm, you can cut them into bars. Get ready to enjoy a guilt-free treat that’s sure to impress!
Tips for Success
- Use room temperature ingredients for better mixing.
- Don’t skip lining the baking dish; it makes removal easier.
- For a thicker crust, press the mixture down firmly.
- Experiment with different nut butters for unique flavors.
- Let the bars chill longer for a firmer texture.
Equipment Needed
- Baking dish: A 9×9 inch dish works perfectly, but any similar size will do.
- Parchment paper: You can use aluminum foil if you don’t have parchment.
- Mixing bowl: Any large bowl will suffice for combining ingredients.
- Spatula: A rubber spatula is great for spreading and mixing.
- Microwave-safe bowl: Use a glass or ceramic bowl for melting chocolate.
Variations
- For a nut-free version, substitute almond flour with sunflower seed flour and use sunbutter instead of peanut butter.
- Add a sprinkle of sea salt on top of the chocolate layer for a sweet and salty twist.
- Incorporate shredded coconut into the crust for added texture and flavor.
- Try using almond butter or cashew butter for a different nutty taste.
- For a protein boost, mix in a scoop of your favorite protein powder into the crust mixture.
Serving Suggestions
- Pair these bars with a cup of herbal tea for a cozy afternoon treat.
- Serve with fresh fruit like strawberries or bananas for a refreshing contrast.
- Drizzle a little extra melted chocolate on top for a beautiful presentation.
- Enjoy with a scoop of vanilla yogurt for a delightful dessert experience.
For more recipes follow me in page Facebook and Pinterest
FAQs about Homemade Healthy Twix Bars (Gluten-Free Recipe)
Can I make these bars vegan?
Absolutely! To make these Homemade Healthy Twix Bars vegan, simply ensure that your dark chocolate chips are dairy-free. Most brands offer delicious vegan options that work perfectly in this recipe.
How should I store the bars?
Store your Homemade Healthy Twix Bars in an airtight container in the refrigerator. They’ll stay fresh for up to a week, making them a great grab-and-go snack for busy days!
Can I use a different nut butter?
Yes! Feel free to swap out the natural peanut butter for almond butter, cashew butter, or even sunflower seed butter for a nut-free option. Each will give a unique twist to the flavor!
What if I don’t have almond flour?
No worries! You can substitute almond flour with another gluten-free flour, like coconut flour or oat flour. Just keep in mind that the texture may vary slightly.
Can I freeze these bars?
Definitely! These bars freeze well. Just wrap them individually in plastic wrap and store them in a freezer-safe container. They’ll be ready for a quick treat whenever you need one!
Final Thoughts
Making Homemade Healthy Twix Bars (Gluten-Free Recipe) is more than just a cooking project; it’s a delightful experience that brings joy to my family and me. Each bite is a reminder that indulgence doesn’t have to come with guilt. These bars are perfect for busy days, satisfying sweet cravings while keeping health in mind. I love watching my kids enjoy them, knowing they’re made with wholesome ingredients. So, gather your loved ones, whip up a batch, and create sweet memories together. Trust me, these bars will become a cherished staple in your home!