Welcome to the delightful world of Magic Cookie Bars! If you’re like me, juggling a busy schedule while trying to whip up something sweet, this recipe is a lifesaver. These bars are not just easy to make; they’re a crowd-pleaser that will impress your family and friends. Imagine layers of graham cracker crust, gooey chocolate, and crunchy nuts all in one bite! Perfect for a quick dessert after dinner or a treat for a gathering, Magic Cookie Bars are sure to bring smiles all around. Let’s dive into this delicious adventure together!
Magic Cookie Bars: Discover the Ultimate Recipe Today!
- Total Time: 45 minutes
- Yield: 24 bars 1x
- Diet: Vegetarian
Description
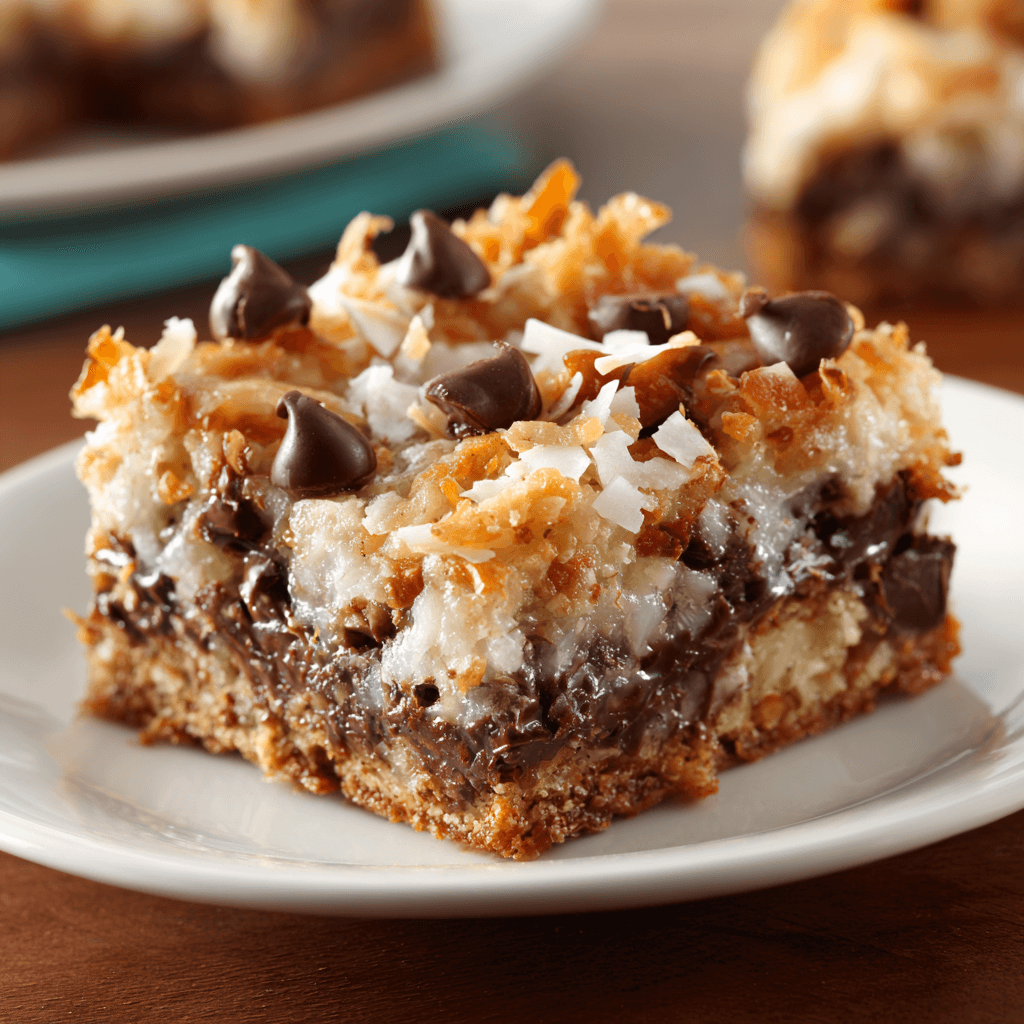
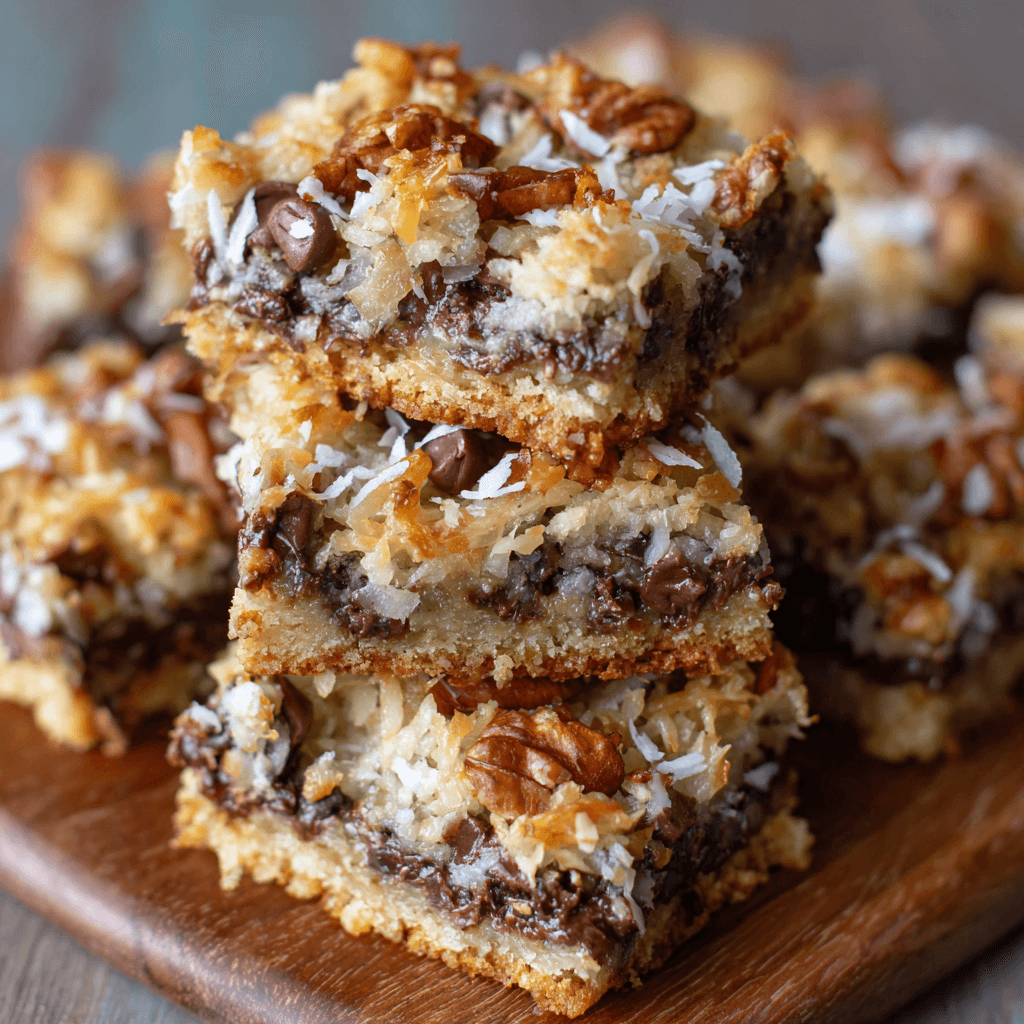
Magic Cookie Bars are a delicious and easy-to-make dessert that combines layers of graham cracker crust, chocolate chips, coconut, and nuts for a sweet treat everyone will love.
Ingredients
- 1 ½ cups graham cracker crumbs
- ½ cup unsalted butter, melted
- 1 cup sweetened shredded coconut
- 1 cup chocolate chips
- 1 cup chopped nuts (walnuts or pecans)
- 1 can (14 oz) sweetened condensed milk
Instructions
- Preheat the oven to 350°F (175°C).
- In a bowl, mix graham cracker crumbs and melted butter until combined.
- Press the mixture into the bottom of a greased 9×13 inch baking dish.
- Layer the shredded coconut, chocolate chips, and chopped nuts evenly over the crust.
- Pour the sweetened condensed milk evenly over the top.
- Bake for 25-30 minutes or until the edges are golden brown.
- Allow to cool before cutting into bars.
Notes
- For a gluten-free version, use gluten-free graham crackers.
- Feel free to substitute different types of nuts or add dried fruit for variation.
- Store leftovers in an airtight container at room temperature for up to a week.
- Prep Time: 15 minutes
- Cook Time: 30 minutes
- Category: Dessert
- Method: Baking
- Cuisine: American
Nutrition
- Serving Size: 1 bar
- Calories: 200
- Sugar: 15g
- Sodium: 100mg
- Fat: 10g
- Saturated Fat: 5g
- Unsaturated Fat: 3g
- Trans Fat: 0g
- Carbohydrates: 25g
- Fiber: 1g
- Protein: 2g
- Cholesterol: 15mg
Keywords: Magic Cookie Bars, dessert, easy recipe, chocolate, coconut
Table of Contents
Why You’ll Love This Magic Cookie Bars
Magic Cookie Bars are the ultimate solution for busy days when you crave something sweet without spending hours in the kitchen. They come together in just 45 minutes, making them a quick and satisfying treat. The combination of chocolate, coconut, and nuts creates a flavor explosion that’s hard to resist. Plus, they’re perfect for sharing, so you can spread the joy with family and friends. What’s not to love?
Ingredients for Magic Cookie Bars
Gathering the right ingredients is the first step to creating your Magic Cookie Bars. Here’s what you’ll need:
- Graham cracker crumbs: These form the base of your bars, providing a sweet and crunchy foundation.
- Unsalted butter: Melted butter adds richness and helps bind the crust together. Using unsalted allows you to control the saltiness.
- Sweetened shredded coconut: This ingredient brings a tropical flair and chewy texture that complements the chocolate perfectly.
- Chocolate chips: Choose your favorite type—milk, dark, or even white chocolate—for a sweet, melty surprise in every bite.
- Chopped nuts: Walnuts or pecans add a delightful crunch and nutty flavor. Feel free to swap them for your favorite nuts or leave them out if you prefer.
- Sweetened condensed milk: This magical ingredient binds everything together, creating a gooey, sweet layer that holds the bars intact.
For those looking to mix things up, consider adding dried fruits like cranberries or raisins for a chewy twist. If you need a gluten-free option, simply use gluten-free graham crackers. You can find the exact measurements for each ingredient at the bottom of the article, ready for printing!
How to Make Magic Cookie Bars
Now that you have your ingredients ready, let’s get started on making these delightful Magic Cookie Bars! Follow these simple steps, and you’ll have a delicious dessert in no time.
Step 1: Preheat the Oven
First things first, preheat your oven to 350°F (175°C). Preheating is crucial because it ensures even baking. If you skip this step, your bars might not cook properly, leading to a gooey mess instead of a delicious treat. Trust me, a well-preheated oven is your best friend in baking!
Step 2: Prepare the Crust
In a mixing bowl, combine your graham cracker crumbs and melted butter. Stir until everything is well mixed. The mixture should resemble wet sand. Now, press this mixture firmly into the bottom of a greased 9×13 inch baking dish. Pressing it down is key! It creates a sturdy base for your bars, so don’t rush this step.
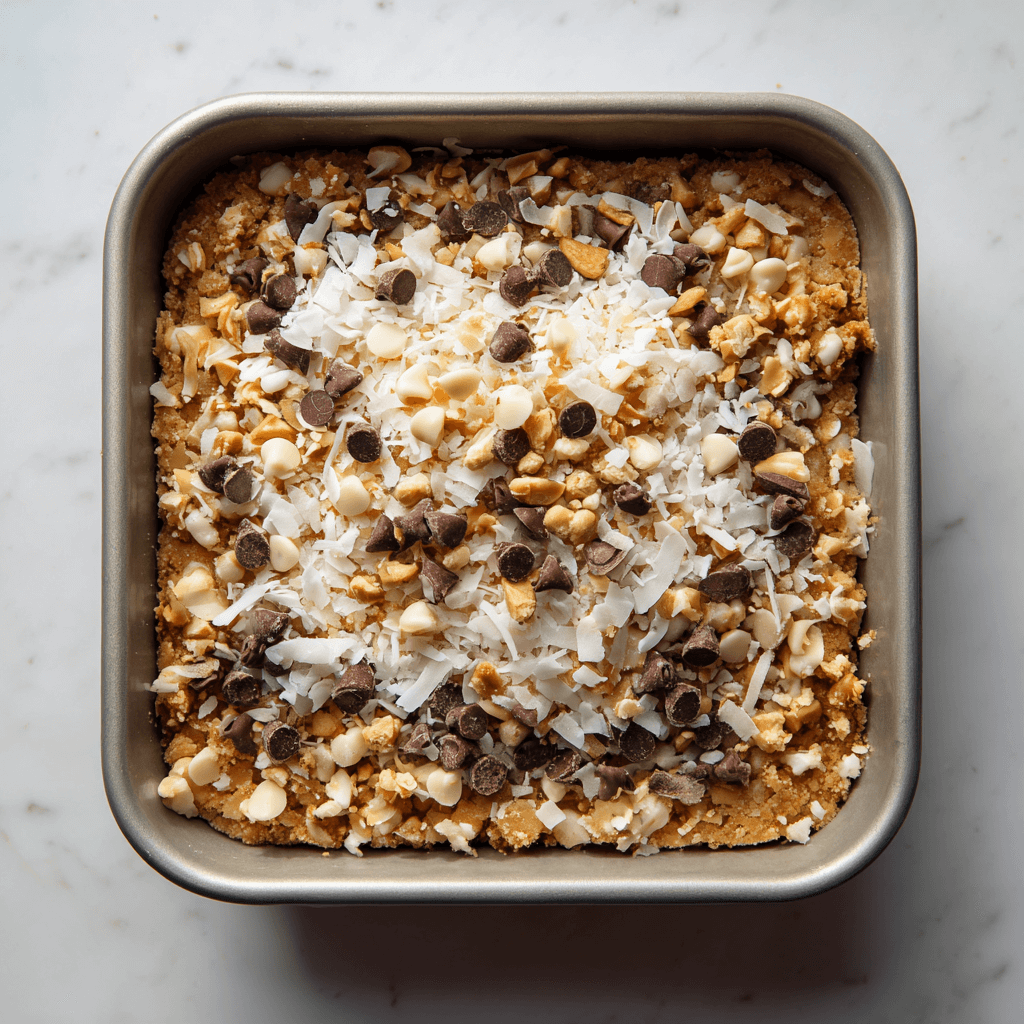
Step 3: Layer the Ingredients
Next, it’s time to layer the fun stuff! Sprinkle the sweetened shredded coconut evenly over the crust. Then, add the chocolate chips and chopped nuts. Make sure to distribute them evenly for a balanced flavor in every bite. Each layer adds its own unique texture and taste, making these bars truly magical!
Step 4: Add the Sweetened Condensed Milk
Now, pour the sweetened condensed milk evenly over the top of your layered ingredients. This creamy goodness is what binds everything together. It seeps into the layers, creating that gooey texture we all love. Don’t skimp on this step; it’s what makes these Magic Cookie Bars so special!
Step 5: Bake the Bars
Place your baking dish in the preheated oven and bake for 25-30 minutes. Keep an eye on them! You’ll know they’re done when the edges are golden brown and the center is set. If you poke it gently, it should feel firm but slightly soft. Remember, they’ll continue to cook a bit as they cool.
Step 6: Cool and Cut
Once baked, remove the dish from the oven and let it cool completely. This is important! If you cut them too soon, they might fall apart. After cooling, use a sharp knife to cut them into squares or bars. Serve them up and watch the smiles appear as everyone enjoys these delightful treats!
Tips for Success
- Make sure to press the crust firmly for a sturdy base.
- Use room temperature ingredients for better mixing.
- Don’t skip the cooling time; it helps the bars set properly.
- Experiment with different types of chocolate for unique flavors.
- Store leftovers in an airtight container to keep them fresh.
Equipment Needed
- 9×13 inch baking dish: A standard size for these bars. If you don’t have one, a similar-sized pan will work.
- Mixing bowl: Any large bowl will do for combining ingredients.
- Measuring cups: Essential for accurate ingredient amounts. You can use a kitchen scale if you prefer.
- Spatula: Great for spreading the crust and layering ingredients evenly.
- Sharp knife: Perfect for cutting the bars into neat squares.
Variations of Magic Cookie Bars
- Nut-Free Version: Omit the nuts or substitute with sunflower seeds for a crunchy texture without allergens.
- Chocolate Lovers: Use a mix of chocolate chips and chunks for an extra chocolatey experience.
- Fruit-Infused: Add dried fruits like cranberries, cherries, or apricots for a chewy twist.
- Peanut Butter Swirl: Drizzle melted peanut butter over the top before baking for a nutty flavor.
- Vegan Option: Substitute butter with coconut oil and use dairy-free chocolate chips for a plant-based treat.
- Spiced Up: Add a pinch of cinnamon or nutmeg to the crust for a warm, cozy flavor.
Serving Suggestions for Magic Cookie Bars
- Pair with a scoop of vanilla ice cream for a delightful contrast of temperatures.
- Serve alongside a hot cup of coffee or tea for a cozy afternoon treat.
- Drizzle with chocolate or caramel sauce for an extra touch of indulgence.
- Garnish with a sprinkle of sea salt to enhance the flavors.
- Present on a colorful platter for a festive look at gatherings.
For more recipes follow me in page Facebook and Pinterest
FAQs about Magic Cookie Bars
As you embark on your journey to create these delightful Magic Cookie Bars, you might have a few questions. Here are some common queries that can help you along the way:
Can I make Magic Cookie Bars ahead of time?
Absolutely! These bars can be made a day in advance. Just store them in an airtight container at room temperature. They’ll stay fresh and delicious, ready to impress your guests!
What can I substitute for sweetened condensed milk?
If you’re looking for a dairy-free option, you can use coconut cream mixed with a bit of sweetener. It won’t be exactly the same, but it will still create a lovely texture.
How do I know when my Magic Cookie Bars are done baking?
Look for golden brown edges and a slightly soft center. A gentle poke should feel firm but not too squishy. Remember, they’ll firm up as they cool!
Can I freeze Magic Cookie Bars?
Yes! These bars freeze beautifully. Just wrap them tightly in plastic wrap and place them in a freezer-safe container. They can last up to three months in the freezer.
What’s the best way to cut Magic Cookie Bars?
For clean cuts, use a sharp knife and let the bars cool completely. You can even chill them in the fridge for a bit before cutting to make it easier!
Final Thoughts
Making Magic Cookie Bars is more than just baking; it’s about creating sweet memories with loved ones. The joy of pulling a warm batch from the oven, the aroma wafting through the kitchen, and the smiles on faces as they take that first bite are priceless. These bars are a delightful treat that can brighten any day, whether it’s a busy weekday or a special occasion. So, gather your ingredients, embrace the magic, and let these bars bring a little sweetness into your life. Trust me, once you make them, you’ll be hooked!