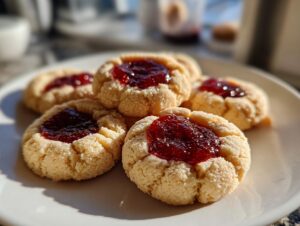
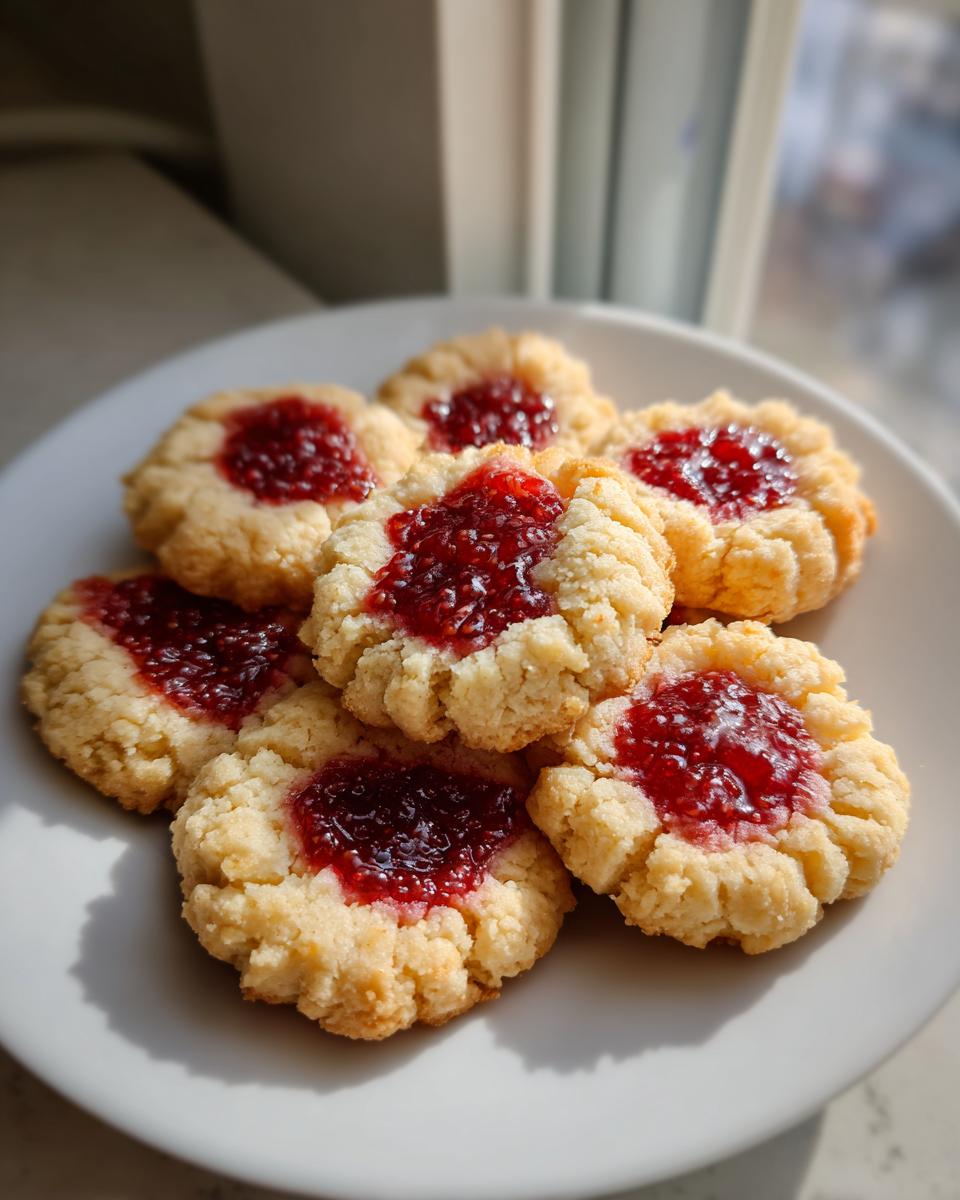
Oh, let me tell you about the joy of baking thumbprint cookies! There’s just something magical about those little gems, each one filled with a dollop of sweet jam, that brings back memories of cozy kitchens and laughter. Whenever I whip up a batch, the delightful aroma fills my home, and I can’t help but feel a wave of nostalgia wash over me. These thumbprint cookies are perfect for any occasion – whether you’re celebrating a birthday, hosting a coffee date, or just indulging in a sweet treat on a lazy afternoon. Trust me, they’re a crowd-pleaser! The buttery cookie base paired with the fruity jam creates a delightful flavor explosion that’s hard to resist. Plus, they’re incredibly easy to make! So, roll up your sleeves, gather your ingredients, and let’s dive into the world of thumbprint cookies that will surely warm your heart and satisfy your sweet tooth.
Ingredients List
To create these delightful thumbprint cookies, you’ll need the following ingredients:
- 2 1/4 cups all-purpose flour, carefully measured for accuracy
- 1/2 teaspoon salt, to enhance the flavors
- 1 cup unsalted butter, at cool room temperature for easy mixing
- 1 cup granulated sugar, divided into two portions
- 3 tablespoons light brown sugar, for a hint of caramel flavor
- 1 large egg yolk, adding richness to the dough
- 1 1/2 teaspoons vanilla extract, because every cookie deserves a little love
- 2/3 cup thick raspberry jam (or your favorite jam), for that luscious filling
Gather these ingredients, and you’ll be on your way to baking the most scrumptious thumbprint cookies!
How to Prepare Thumbprint Cookies
Now that you’ve gathered your ingredients, let’s get right into the fun part – making those delicious thumbprint cookies! I promise you, the process is simple and oh-so-rewarding. Let’s break it down step by step.
Preparing the Dough
First things first, grab a medium bowl and whisk together the flour and salt. This step is crucial because it ensures the salt gets evenly distributed throughout the flour, which helps enhance the cookie’s flavor. Next, in a stand mixer fitted with the paddle attachment, beat the cool butter on medium speed for about a minute until it’s nice and creamy. Then, add in 1/2 cup of the granulated sugar along with the brown sugar. Mix it all together until it’s light and fluffy, which should take about 2 minutes. Don’t forget to scrape down the sides of the bowl to make sure everything gets mixed in properly! Now it’s time to add your egg yolk and vanilla extract, mixing until everything is well combined. Finally, gently add the dry ingredients to the mixer, mixing on low speed until just combined. We don’t want to overwork the dough, or the cookies might turn out tough. Once your dough is ready, roll it into balls about 1 1/2 teaspoons each and set them aside. A quick chill in the fridge for about 30 minutes will help them keep their shape while baking. Trust me, it’s worth the wait!
Forming and Baking the Cookies
Once your dough has chilled, it’s time to shape those cookies! Preheat your oven to 350°F and line a baking sheet with parchment paper. Take each dough ball and roll it in the remaining 1/2 cup of sugar for that sweet, sparkly finish. Place the cookies on the prepared baking sheet, making sure to space them about 2 inches apart. This is super important because they’ll spread a bit while baking. Now, use the back of a teaspoon or your thumb to gently press an indentation into the center of each cookie. Just be careful not to press too hard; we want a nice pocket for the jam, not a hole that goes all the way through! Once you’ve shaped them all, pop the baking sheet into the freezer for another 30 minutes. This helps them maintain their shape while baking. Bake the cookies one sheet at a time for about 10–12 minutes, or until the edges are lightly golden. You’ll know they’re ready when your kitchen is filled with that irresistible buttery aroma!
Filling with Jam
Now comes the best part – filling those cookies with jam! Grab a small zipper bag and fill it with your chosen jam, snipping off a tiny corner to create a makeshift piping bag. Carefully squeeze the jam into each cookie’s indentation, filling it with about 1/2 teaspoon of jam. Just remember, don’t overfill! If you do, the jam will bubble over and make a sticky mess in your oven. Keep it simple, and your cookies will come out looking perfect. Once filled, let them cool on the baking sheet for a few minutes before transferring them to a wire rack. And there you have it – your scrumptious thumbprint cookies are ready to be devoured!
Nutritional Information
Now, I know you’re curious about what’s in these delightful thumbprint cookies, so here’s the estimated nutritional breakdown per cookie. Each cookie contains approximately:
- Calories: 108 kcal
- Fat: 5 g
- Protein: 1 g
- Carbohydrates: 15 g
- Sugar: 8 g
- Sodium: 33 mg
- Cholesterol: 20 mg
Keep in mind that these values are estimates and can vary based on specific ingredients and portion sizes. Enjoy these treats guilt-free, knowing that they’re a delicious addition to your dessert lineup!
Why You’ll Love This Recipe
Let me share why these thumbprint cookies are a must-bake for everyone! They’re not just delicious; they come with so many perks that make them irresistible. Here’s what makes them special:
- Quick Preparation: You can whip these up in no time, making them perfect for last-minute gatherings.
- Endless Flavor Options: With so many jam choices, you can mix it up every time you bake!
- Perfect for Any Occasion: Whether it’s a holiday, a birthday party, or just a cozy night in, these cookies always fit right in.
- Fun to Make: Rolling the dough and filling the cookies is a delightful experience, especially with kids!
Trust me, once you taste one, you’ll understand why these cookies are a favorite in my home!
Tips for Success
To ensure your thumbprint cookies turn out perfectly every time, here are some pro tips that I swear by:
- Chill the Dough: Don’t skip the chilling step! It helps the cookies maintain their shape and prevents them from spreading too much during baking.
- Use Room Temperature Butter: Make sure your butter is at cool room temperature. This makes it easier to cream and results in a lighter texture.
- Be Gentle with the Indentation: When pressing your thumb or spoon into the dough, be careful not to go too deep. You want a lovely pocket, not a hole!
- Watch the Baking Time: Every oven is different, so keep an eye on your cookies. They’re done when the edges are lightly golden, and the centers look set.
With these tips, you’ll be on your way to mastering the art of thumbprint cookies in no time!
Variations
The beauty of thumbprint cookies lies in their versatility! While raspberry jam is a classic, feel free to get creative with your fillings. Here are some delicious alternatives you might want to try:
- Strawberry Jam: A sweet and fruity twist that’s always a crowd-pleaser.
- Apricot Preserves: For a slightly tart flavor that pairs perfectly with the buttery cookie.
- Chocolate Hazelnut Spread: If you’re a chocolate lover, this is a decadent option that’s simply divine!
- Lemon Curd: Bright and zesty, adding a refreshing touch to each bite.
- Peanut Butter: A creamy, nutty filling that offers a delightful contrast to the cookie.
Mix and match your favorite jams or spreads for endless delicious combinations!
Serving Suggestions
Now that your thumbprint cookies are ready to be enjoyed, let’s talk about how to elevate the experience! These cookies pair wonderfully with a steaming cup of tea or coffee. The warm beverage complements the buttery sweetness of the cookies perfectly. You might also consider serving them alongside a scoop of vanilla ice cream for a delightful dessert combination that adds a creamy contrast to the chewy cookie. And don’t forget about a simple fruit platter! Fresh berries or sliced apples can balance out the sweetness and add a refreshing touch. Trust me, these pairings will take your thumbprint cookies to the next level!
Storage & Reheating Instructions
To keep your delicious thumbprint cookies fresh, store them in an airtight container at room temperature. They’ll stay tasty for about a week, but trust me, they probably won’t last that long! If you want to keep them for a bit longer, you can freeze them. Just make sure they’re completely cool first, then layer them between parchment paper in a freezer-safe container. When you’re ready to enjoy them again, simply let them thaw at room temperature. For a warm treat, pop them in the microwave for about 10-15 seconds. You’ll be greeted with that delightful gooeyness all over again!
For more recipes follow me in page Pinterest.
Print
Thumbprint Cookies: 5 Irresistible Variations to Try
- Total Time: 42 minutes
- Yield: 24 cookies 1x
- Diet: Vegetarian
Description
Delicious thumbprint cookies filled with jam.
Ingredients
- 2 1/4 cups all-purpose flour
- 1/2 teaspoon salt
- 1 cup unsalted butter, cool room temperature
- 1 cup granulated sugar, divided
- 3 tablespoons light brown sugar
- 1 large egg yolk
- 1 1/2 teaspoons vanilla extract
- 2/3 cup thick raspberry jam (or jam of choice)
Instructions
- In a medium bowl, whisk together the flour and salt. Set aside.
- In a stand mixer fitted with the paddle attachment, beat the butter on medium speed for 1 minute.
- Add 1/2 cup of the granulated sugar and the brown sugar. Mix until light and fluffy, about 2 minutes. Scrape down the bowl as needed.
- Add the egg yolk and vanilla extract. Mix until well combined.
- Add the dry ingredients and mix on low until just combined.
- Roll the dough into balls, about 1 1/2 teaspoons per cookie. Place the remaining 1/2 cup sugar in a small bowl and roll each dough ball in the sugar.
- Place cookies on a parchment-lined baking sheet. Use the back of a teaspoon or your thumb to gently press an indentation into the center of each cookie.
- Transfer the baking sheet to the freezer and chill for 30 minutes.
- Preheat the oven to 350°F.
- Fill a small zipper bag with jam and snip off a small corner. Carefully fill each indentation with about 1/2 teaspoon of jam. Do not overfill.
- Space cookies 2 inches apart and bake one sheet at a time for 10–12 minutes, until edges are lightly golden.
- Let cookies cool on the baking sheet before serving.
Notes
- Chilling the dough helps the cookies keep their shape while baking.
- Any thick jam or preserve works well in place of raspberry.
- Do not overfill with jam to prevent spilling during baking.
- Prep Time: 30 minutes
- Cook Time: 12 minutes
- Category: Dessert
- Method: Baking
- Cuisine: American
Nutrition
- Serving Size: 1 cookie
- Calories: 108 kcal
- Sugar: 8 g
- Sodium: 33 mg
- Fat: 5 g
- Saturated Fat: 3 g
- Unsaturated Fat: 0 g
- Trans Fat: 0 g
- Carbohydrates: 15 g
- Fiber: 1 g
- Protein: 1 g
- Cholesterol: 20 mg
Keywords: Thumbprint Cookies, Jam Cookies, Dessert Recipes